Yes, it’s official! Crimped hair is back in style! While the gorgeous crimped hair was all the rage in the ’90s, the trend died down for a while. The good news is, it’s back with a bang!
But what if you already threw away your crimper along with your other paraphernalia from the 90s? Well, fret not because we’ll let you in on a little hack: you can crimp your hair with a hair straightener!
Yes, you can do that. But, do you know how to crimp hair with a flat iron? Read on to find out.
How to Crimp Hair with Flat Iron
There’s no denying the fact that the flat iron is one of the most versatile hair styling tools you can have. You can use it to straighten and curl your hair. And now, you can even use it for crimping hair. There are two ways how to crimp hair with a flat iron.
So do you already have your flatiron with you? If so, let’s get started with braiding your hair.
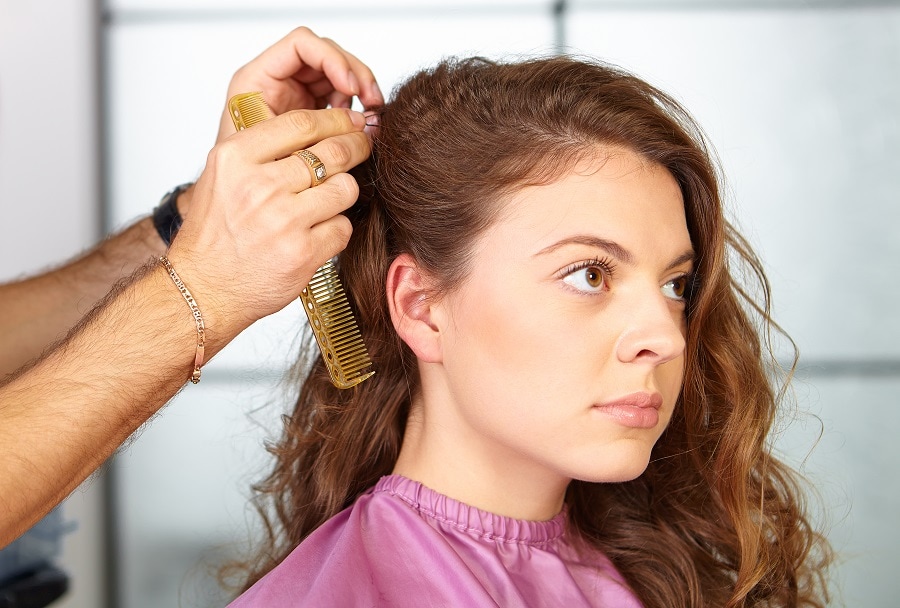
Step 1: Brush Your Hair
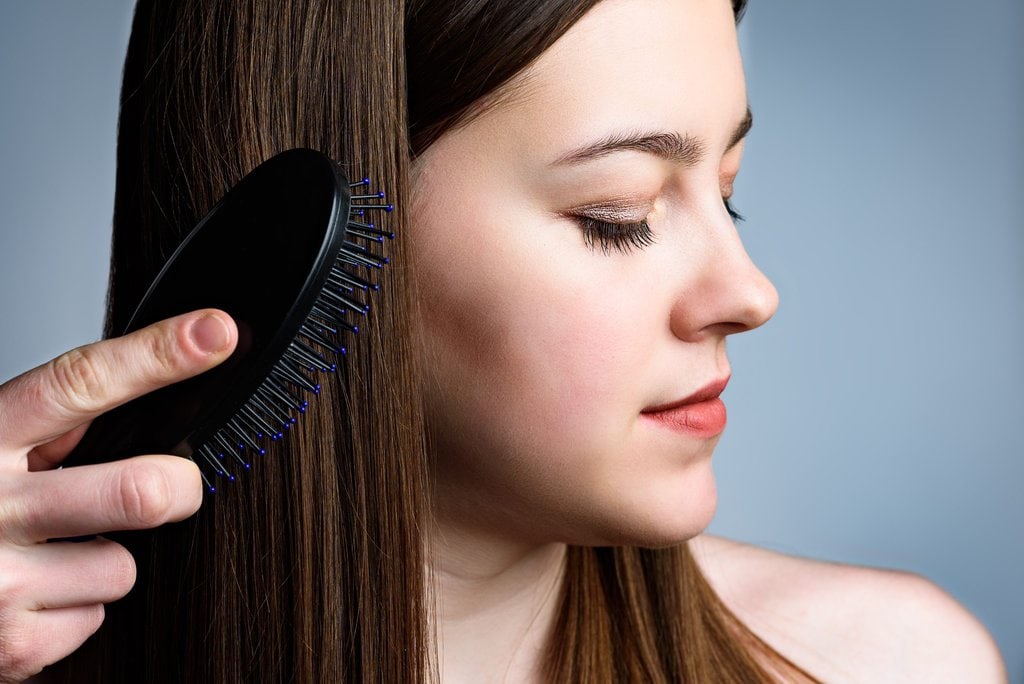
First, dry your hair thoroughly and brush your hair to get rid of knots and tangles so you can have a good foundation for crimped hair.
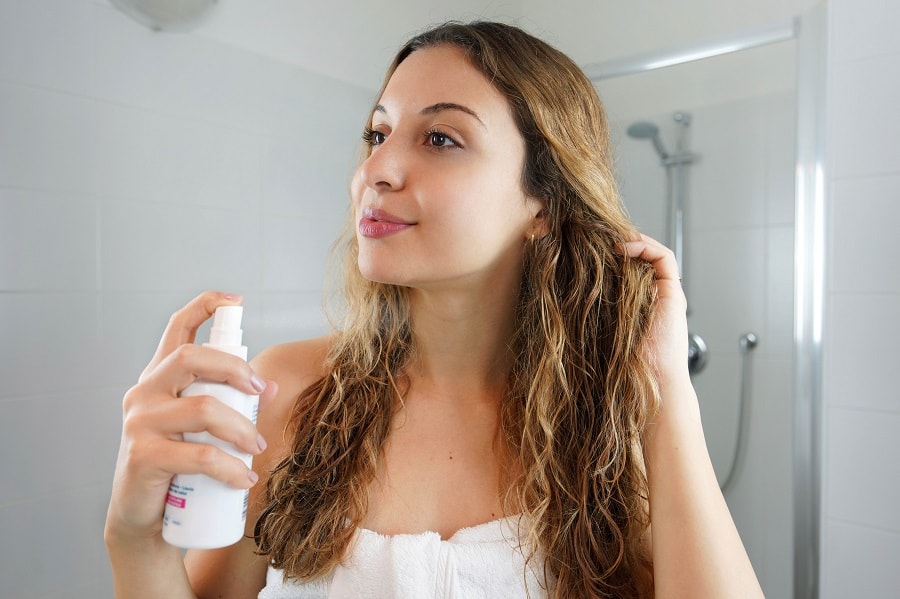
Since you’ll expose your hair to high temperatures, it’s essential to ensure that it’s fully protected. You can do that by applying any heat protectant—spray or cream.
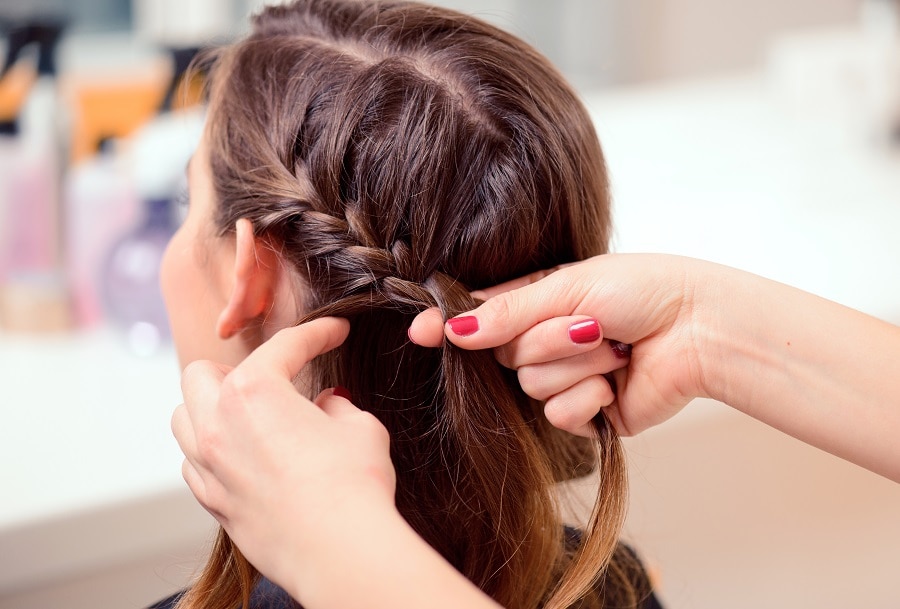
Step 2: Make Small Braids
This is done so you can ensure that all your hair will be evenly and properly crimped. The smaller the sections are, the better the results.
Using the small hair sections, create tight and small braids which are as close to the scalp as possible. If you want voluminous curls, keep the braids as compact as possible.
This is an essential step since the hairspray will deliver a stronghold, ensuring that the curls will last longer.
Step 3: Use Hair Straightener
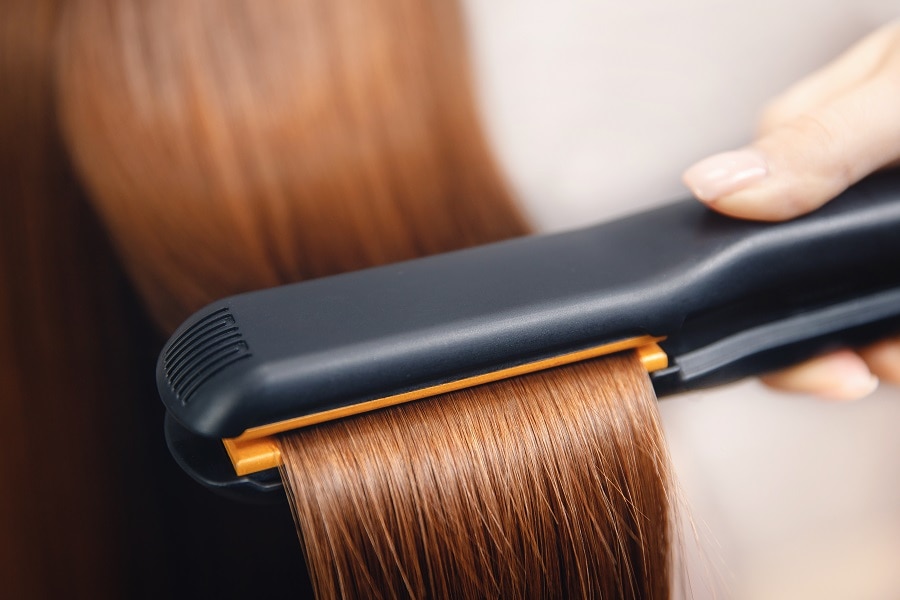
Now, here’s where the hair straightener will come into the picture. First, you need to apply heat to the braided sections. To do this, run the hair straightener through each section, starting from the roots to the ends.
Pro Tip: For best results, go around each section twice if you have enough time.
After applying heat, let your hair cool down completely. After that, unbraid your hair to reveal your masterpiece!
How to Make Tight Crimps Using U-Pin
If you want tight crimps, using U-pins is the way to go. Just a heads up, though, this technique can be pretty time-consuming. But the best news is everything you’ll need to get started is already in your house!
Step 1: Divide Your Hair and Apply U-Pin
Create an upper and lower section, then pull the upper section into a bun and leave the lower section as is. Get a small section of your hair from either the leftmost or rightmost side, then insert it in the open space of your U-clip.
The closer the pin is to the scalp, the more volume your hair will have. Wrap the remaining length of the section around the clip’s prongs. Once you’re done, secure it with an elastic band.
Repeat the steps until you’ve applied U-pin on all of your hair sections.
Step 2: Apply a Heat Protectant
Before you do so, make sure to apply a heat protectant first. After that, go over each section of the hair using your flatiron.
Pro Tip: For best results, make sure to hold the flatiron for about 3-4 seconds per hair section. After heating the hair, let it cool off first. Afterward, remove the clip from each hair section.
Run your fingers through your hair to remove tangles and let the crimps loosen up a bit. Apply hairspray to secure your gorgeous hairstyle.
How to Crimp Hair Without a Crimper and Flat Iron
Don’t want to use heat styling but want crimped hair? We get you! After all, heat styling can damage the hair over time.
But is it possible to crimp hair without heat? Yes, it is! And we got all the steps right here:
Step 1: Let Your Hair Dry
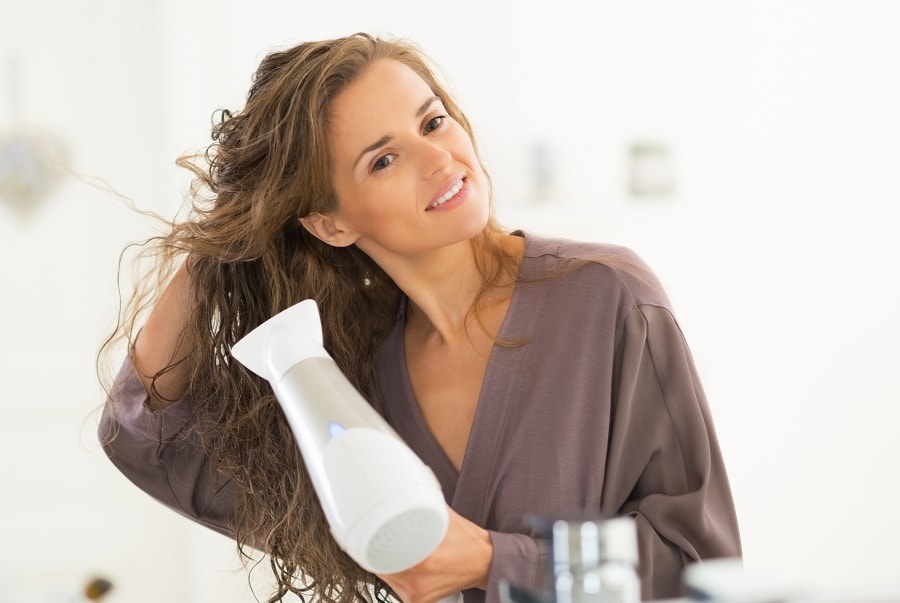
When braiding your hair, always start with damp hair, not wet hair, when braiding your hair. In this way, you don’t have to wait for your hair to dry for a longer time.
Step 2: Braid Your Hair
Divide your hair into two sections, then proceed with braiding each side. If you want a more natural look, keep the braids tight at the root and loose at the bottom.
Secure the ends using a soft scrunchie and leave your braids overnight. If you’re pressed for time, you can unbraid your hair once it’s fully dried.
Now that you’re armed with all of these fantastic crimping hacks, we’ll leave you with a few ways to level up your crimping game. Here are some of them:
- To add depth and texture to your look, leave some hair sections straight and others crimped.
- Crimp your hair and pull it into a gorgeous updo or a half up and half down hairstyle.
- Pull crimped hair into a high ponytail for a fun yet sophisticated look.
- Add eye-catching accessories like a headband, ponytails, and the like.
Crimped hair is in, and the best news is crimping your hair is easier now than ever! This is true regardless of whether you have a crimper or not because there are now plenty of ways to crimp hair without a crimper.
And you can do all these without the need for a crimper. Indeed, there are lots of ways to style and enjoy crimped hair, so what are you waiting for? Go forth and crimp your hair!