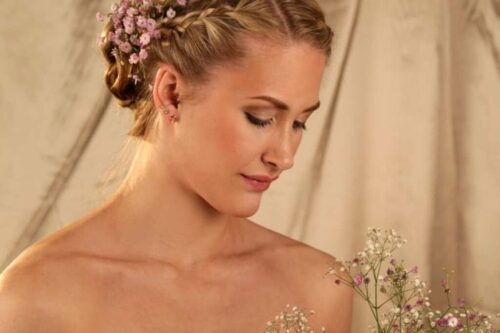
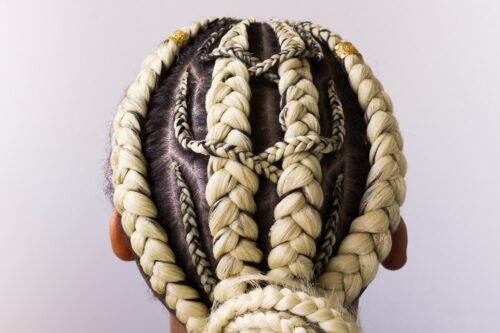
You may have seen some beautiful braid styles that mimic Instagram’s chunky cornrows. They’re called goddess braids, and because of their defensive properties and fun visuals, they’re one of the hottest hairstyles for natural and transitional hair. It’s important to remember, however, that this style is not something new. Goddess braids, as a sign of art and innovation, actually date back to ancient Africa.
Goddess braids share a common history in that the patterns can be traced back to the days of Ancient Africa with cornrows. Today’s Goddess Braids made a major comeback in the 2000s.
Goddess Braids are also named as Granny Braids. They are popular for a long time for their sleek and stylish look. The Goddess Braids are best for protecting your hair while they are growing.
They are a great look to try out on natural hair, whether you’re braiding your natural hair or adding extensions. In so many different ways, you can wear these flexible braids: down, twisted into buns or pulled into ponytails, and used in conjunction with other protective styles.
Women love the Goddess Braids because they can be styled in many different ways. This hairstyle is simply a large cornrow hairstyle. It can be styled by making a bun of them or by weaving them together.
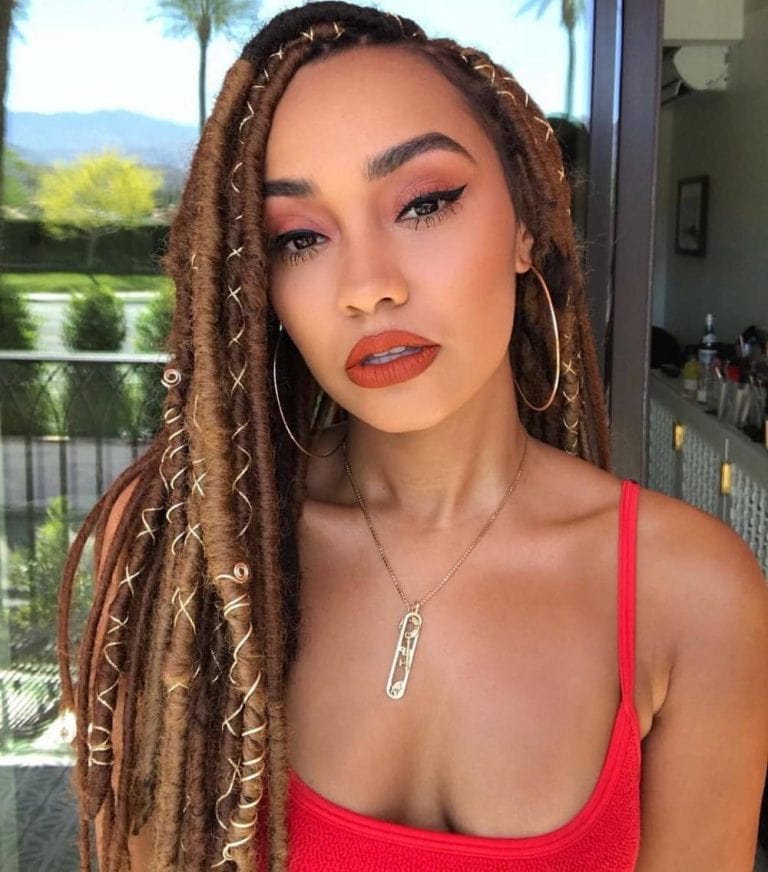
In the braid patterns which can be made, these braids are versatile. You may either wear down the ends of the Goddess braids or transform them into an up-do. Popular versions of the style are goddess braids made into buns and ponytails. It is possible to add accessories, such as hairpins, to the braids. For a trendier look, some females prefer to combine Goddess braids and normal cornrows into one hairstyle.
For coarser hair textures from 3A to 4C, Goddess braids are an excellent choice. It’s also perfect for all hairstyles, such as normal, relaxed, and transitional hair. However, if you have a more sensitive scalp, just note that Goddess braids can need some tension just like any other braids. During installation, this can cause discomfort. Make sure your stylist doesn’t braid too tightly, as this can lead to breakage and hair loss.
The hairstyle is most suitable for styling curly hair, which is hard to manage. The soft and silky hair can hardly withstand the hairstyle.
Advantages of Goddess Braids
- The braids are a defensive style with low maintenance. Part of the defensive style appeal is that you don’t have to do much about your hair. This style of braiding is no different. Sleeping with a satin scarf or hat is the only move you will need to take. You may want to oil your scalp as well, but other than that, no other styling or maintenance is needed.
- It does not take long to install the braids. On average, Goddess braids only take an hour to complete, unlike many braided types, depending on how complicated the pattern is that you like. This is a good look for you when you want to be in and out of the salon.
- Goddess Braids are an affordable style. Goddess braids are a good type of braiding that is cheap, that means for a cute protective design, you don’t have to break the bank. You can run most of the defensive types well into the hundreds. If you want a braided theme but don’t want to spend too much on it, consider the braids of the Goddess.
Supply You’ll Need To Make Goddess Braid
For doing this hairstyle, you will need 4-5 bags of hair supplements. If your scalp is sensitive, you will have to apply the hair cream to moisturize the scalp. A towel to damp the hairstyle at the end is required. And of course, a hairbrush and rat tail comb.
Process to Make Goddess Braid
Step 1: Clean and Detangled hair
Before you start braiding your hair, make sure your hair is clean and moisturized. Detangle your hair using your regular hairbrush or comb. Now your hair is ready to get braided in.
Step 2: Sectioning The Hair
Start by portioning your hair into two halves in a vertical way from the front to the back. Then tie one of these halves, and you will now braid the remaining part.
Now sections the hair of one half into small sections as precisely as you can. You can section in Box style.
Step 3: Braiding The Small Sections Using The Hair Supplements
Take each of the small hair sections and braid it by adding hair supplements to get long braids. Make sure the braid is tight.
Similarly, braid all the sections of hair on this side of the head. Don’t secure the braid at the tips. Let the braid be open.
Step 4: Wrapping Each Braid By Hair Supplement Strands
After you are finished with braiding the small hair sections, start wrapping each braid with a strand hair supplement.
Wrap the braid till the tip. Once you reach the tip of the braid, stick the hair strands to the braid using glue. Cut the excess hair at the tip to get a fine strand at the ends.
Follow the same steps for all the braids, and your Goddess braid for one side is ready. Repeat the same procedure for the other half side of the head. And you are finished with the hairstyle.
Step 5: Damping With Hot Water Towel
Now to make your hair sleek and add beauty to the braids, follow this step. Take a towel and dip it into a warm water tub. Squeeze the excess water and damp your hair with the towel. This will moisturize the hair and the scalp. And the scalp will get relaxed.
You can apply a leave-in conditioner to prevent the scalp from itching.
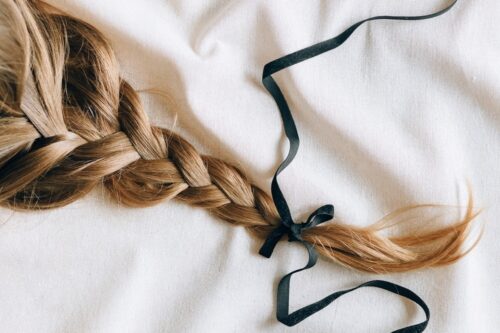
Step 6: Adding Decorative Locks And Ribbons
To add some unique look to the braid, you can use decorative clips and ribbons. Tie the ribbon around one or two braids to give a fancy look to the hairstyle.
You can use the colored hair strand for popping up the hairstyle. And you are now ready with your sleek Goddess braid.
About 4-5 hours. It is a time-consuming hairstyle, but the after hairstyle look is worth it.
You can leave this hairstyle for 2-3 weeks. It depends on how much time your scalp carries the weight of the hair supplement used in the hairstyle.
The people with sensitive scalp can suffer from itching scalp after 1 week or so. The weight of the supplements adds tension to the scalp and hair roots making the scalp itchy.